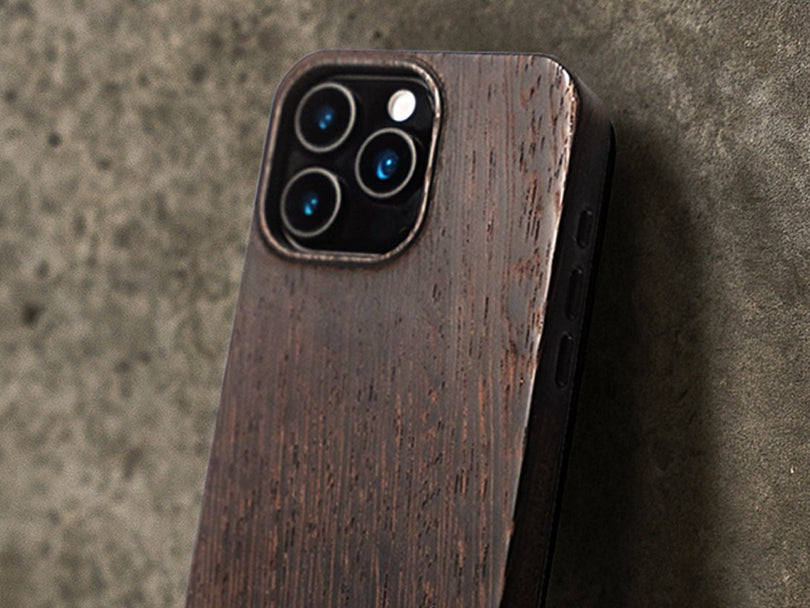
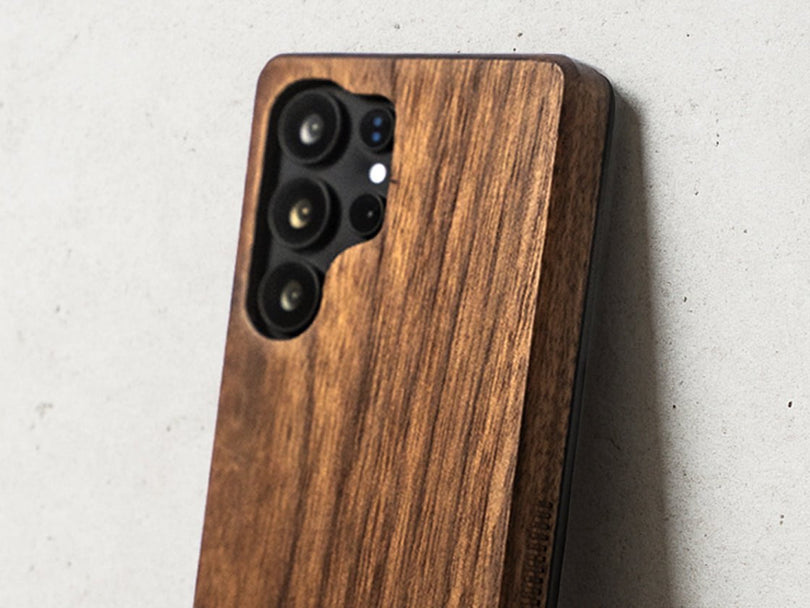
Care for your KerfCase
You can use a slightly damp cloth or paper towel to wipe your KerfCase clean, making sure to thoroughly dry the case afterward. Prolonged exposure to moisture may raise the wood grain of your KerfCase.
Mineral oil or Polyx oil can be used to re-seal your KerfCase in the event of raised grain or scuffing. Sand thoroughly beforehand. Alternatively, you may take advantage of our lifetime warranty and send your case back to us for a free restoration. Contact us for additional details.
Your case may develop hairline cracks from daily use, or impact damage from falls. Please contact us for a free repair if you notice damage to your case. The earlier we are able to intervene, the less likely it is that you will experience repeat issues.
Installing/Removing your KerfCase
Wood iPhone 12/Mini/12 Pro/12Pro Max Case Install video
Watch the video to see how to install our Wood Google Pixel and Pixel XL Cases
Watch the video to see how to install our Wood iPhone 7 and iPhone 7 Plus Cases
Watch the video to see how to install our Apple Pencil Wood Skins:
Watch the video to see how to install and remove our solid wood iPhone Cases:
Watch the video below to see how to install and remove our ALLOY Cases:
Follow the instructions below to apply your Wood Skin for MacBook or iPad:
1. Wipe the surface of your device with a moist cloth to remove any dirt and dust from the surface. Dry thoroughly.
2. Before applying, lay your Wood Skin on top of the device to ensure the correct fit and orientation. Let us know if you need an exchange!
2 1/2. (MACBOOK ONLY) Lightly crease the skin anywhere there is a score mark on the edges. Once applied, the edges will follow the curve of the MacBook.
3. Remove backing paper evenly from one of the long sides of the skin. Start at the corners and work your way inward. Ensure that the adhesive layer stays on the skin and does not come off with the back paper. Pull back the paper until 1/4 of the paper is peeled back.
4. Line up the corners you have exposed on your device. Lay the skin down to confirm alignment and make needed adjustments. If your skin has an Apple logo cutout, you can use that to check your accuracy.
5. Once you are sure that the skin is perfectly aligned, remove the rest of the backing paper and slowly settle the skin onto your device, starting with the side you initially applied. Use your hands to smooth down the skin, starting in the center and working your way outward, to remove trapped air pockets. Make sure the edges of the skin are firmly adhered.


